Professional Exhaust Fan Cleaning in California
Fast • Reliable • Affordable
Are you looking for a reliable and affordable Exhaust Fan Cleaning service in California?
Well look no further residents of California! At Lint Buster Dryer Vent Exhaust Fan Cleaning California, we’ve been providing professional Exhaust Fan Cleaning services to residents of California for over 5 years. Exhaust Fan Cleaning essential for preventing fire hazards, improving air quality, and ensuring your home stays safe and comfortable.
Recent Articles
Air duct cleaning
We provide professional chimney sweeping to keep
Air duct cleaning
We provide professional chimney sweeping to keep
Air duct cleaning
We provide professional chimney sweeping to keep
Our Exhaust Fan Process Process
WHY WE’RE BETTER
Ensuring Safety & Efficiency in California!
Lint Buster Dryer Vent Cleaning is committed to ensuring optimal safety and performance for your dryer system. With our specialized knowledge and equipment, we improve the quality of living for residents of california With our Air Duct Cleaning Services we are also improving the indoor air quality too.
Get a Free Quote Today!!
Interested in Dryer Vent Rerouting & Repair ?
Click or tap the button below and use our convenient online quote request form. We can typically deliver your quote within 48 hours of receiving your request.
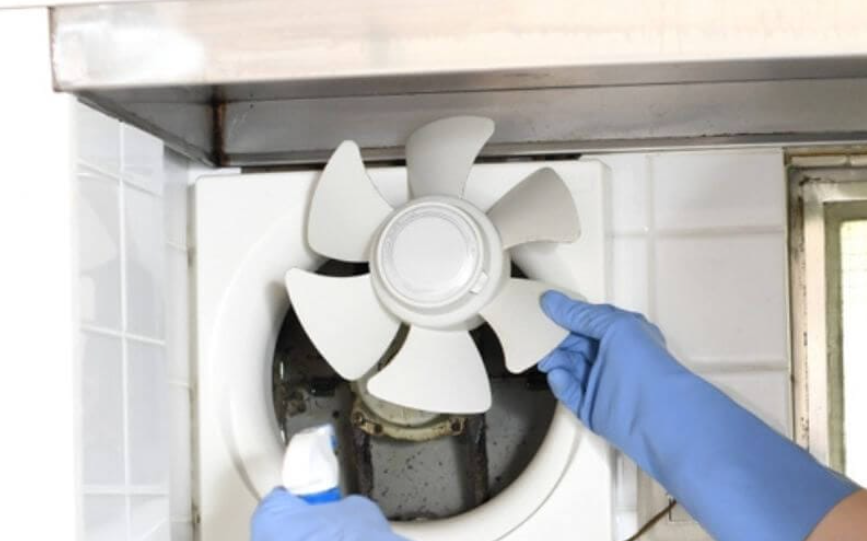
Steps to Clean the Kitchen Exhaust Fan
Step 1: Take apart your kitchen exhaust fan
Get on a sturdy step ladder to reach the kitchen exhaust fan. Be careful while climbing!
Remove the fan’s cover (use a screwdriver if necessary), or gently pry it off if it’s clipped or snapped in place.
Next, locate the rotating component of the kitchen exhaust fan in the centre.
This could be a blade or a blower wheel, which looks like a small cylindrical drum with several curved fins. Check how it’s secured and detach it.
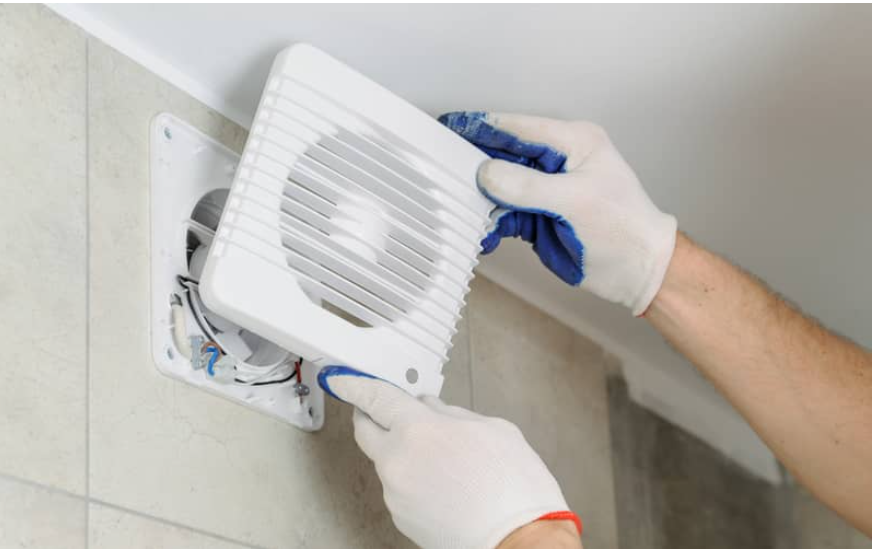
In some models, the blades or blower wheel could be fixed to the motor — do not remove this if the fan is hardwired into your electrical system.
Instead, only take off the fan’s cover then clean the remaining parts in place.
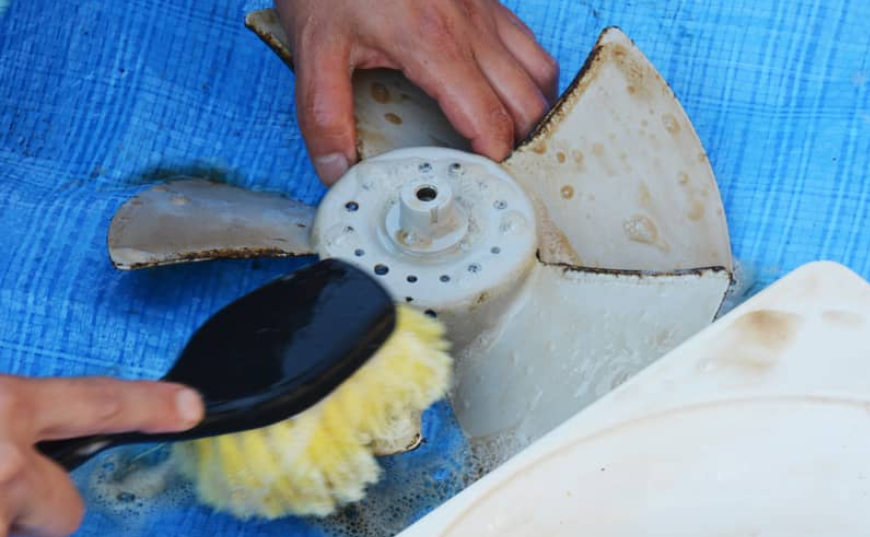
Step 2: Clean the kitchen exhaust fan’s cover and blades
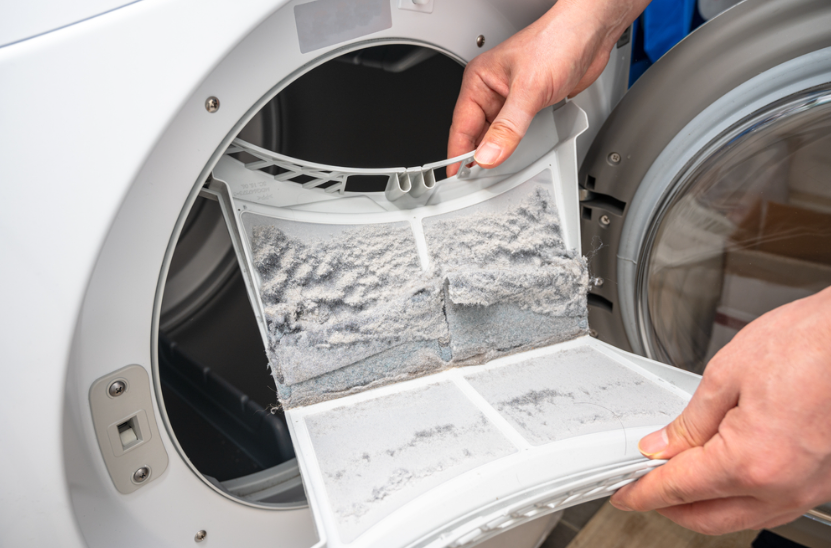
se a vacuum with a crevice attachment to suck out the dust and debris from the exhaust fan’s cover and blades.
Next, prepare your cleaning solution. Mix warm water and dish soap in a basin. You can also sprinkle in baking soda if the parts are heavily soiled.
or plastic fans, keep the water at around 40-50°C, as overly hot water could warp or deform the material.
or any aluminum parts, be cautious with baking soda — leaving it on too long can cause discolouration
Soak the kitchen exhaust fan’s cover and blades in your cleaning solution for 15-20 minutes to loosen any hardened stains.
Step 3: Clean the kitchen exhaust fan’s interior
Get on a sturdy step ladder to reach the kitchen exhaust fan. Be careful while climbing!
Remove the fan’s cover (use a screwdriver if necessary), or gently pry it off if it’s clipped or snapped in place.
Next, locate the rotating component of the kitchen exhaust fan in the centre.
This could be a blade or a blower wheel, which looks like a small cylindrical drum with several curved fins. Check how it’s secured and detach it.
In some models, the blades or blower wheel could be fixed to the motor — do not remove this if the fan is hardwired into your electrical system.
Instead, only take off the fan’s cover then clean the remaining parts in place.